- 1
- 2
- 3
- 4
- 5
- 6
- 7
- 8
- 9
- 10
- 11
- 12
- 13
- 14
- 15
- 16
- 17
- 18
- 19
- 20
- 21
- 22
- 23
- 24
- 25
- 26
- 27
- 28
- 29
- 30
- 31
- 32
- 33
- 34
- 35
- 36
- 37
- 38
- 39
- 40
- 41
- 42
- 43
- 44
- 45
- 46
- 47
- 48
- 49
- 50
- 51
- 52
- 53
- 54
- 55
- 56
- 57
- 58
- 59
- 60
- 61
- 62
- 63
- 64
- 65
- 66
- 67
- 68
- 69
- 70
- 71
- 72
- 73
- 74
- 75
- 76
- 77
- 78
- 79
- 80
- 81
- 82
- 83
- 84
- 85
- 86
- 87
- 88
- 89
- 90
- 91
- 92
- 93
- 94
- 95
- 96
- 97
- 98
- 99
- 100
- 101
- 102
- 103
- 104
- 105
- 106
- 107
- 108
- 109
- 110
- 111
- 112
- 113
- 114
- 115
- 116
- 117
- 118
- 119
- 120
- 121
- 122
- 123
- 124
- 125
- 126
- 127
- 128
- 129
- 130
- 131
- 132
- 133
- 134
- 135
- 136
- 137
- 138
- 139
- 140
- 141
- 142
- 143
- 144
- 145
- 146
- 147
- 148
- 149
- 150
- 151
- 152
- 153
- 154
- 155
- 156
- 157
- 158
- 159
- 160
- 161
- 162
- 163
- 164
- 165
- 166
- 167
- 168
- 169
- 170
- 171
- 172
- 173
- 174
- 175
- 176
- 177
- 178
- 179
- 180
- 181
- 182
- 183
- 184
- 185
- 186
- 187
- 188
- 189
- 190
- 191
- 192
- 193
- 194
- 195
- 196
- 197
- 198
- 199
- 200
- 201
- 202
- 203
- 204
- 205
- 206
- 207
- 208
- 209
- 210
- 211
- 212
- 213
- 214
- 215
- 216
- 217
- 218
- 219
- 220
- 221
- 222
- 223
- 224
- 225
- 226
- 227
- 228
- 229
- 230
- 231
- 232
- 233
- 234
- 235
- 236
- 237
- 238
- 239
- 240
- 241
- 242
- 243
- 244
- 245
- 246
- 247
- 248
- 249
- 250
- 251
- 252
- 253
- 254
- 255
- 256
- 257
- 258
- 259
- 260
- 261
- 262
- 263
- 264
- 265
- 266
- 267
- 268
- 269
- 270
- 271
- 272
- 273
- 274
- 275
- 276
- 277
- 278
- 279
- 280
- 281
- 282
- 283
- 284
- 285
- 286
- 287
- 288
- 289
- 290
- 291
- 292
- 293
- 294
- 295
- 296
- 297
- 298
- 299
- 300
- 301
- 302
- 303
- 304
- 305
- 306
- 307
- 308
- 309
- 310
- 311
- 312
- 313
- 314
- 315
- 316
- 317
- 318
- 319
- 320
- 321
- 322
- 323
- 324
- 325
- 326
- 327
- 328
- 329
- 330
- 331
- 332
- 333
- 334
- 335
- 336
- 337
- 338
- 339
- 340
- 341
- 342
- 343
- 344
- 345
- 346
- 347
- 348
- 349
- 350
- 351
- 352
- 353
- 354
- 355
- 356
- 357
- 358
- 359
- 360
- 361
- 362
- 363
- 364
- 365
- 366
- 367
- 368
- 369
- 370
- 371
- 372
- 373
- 374
- 375
- 376
- 377
- 378
- 379
- 380
- 381
- 382
- 383
- 384
- 385
- 386
- 387
- 388
- 389
- 390
- 391
- 392
- 393
- 394
- 395
- 396
- 397
- 398
- 399
- 400
- 401
- 402
- 403
- 404
- 405
- 406
- 407
- 408
- 409
- 410
- 411
- 412
- 413
- 414
- 415
- 416
- 417
- 418
- 419
- 420
- 421
- 422
- 423
- 424
- 425
- 426
- 427
- 428
- 429
- 430
- 431
- 432
- 433
- 434
- 435
- 436
- 437
- 438
- 439
- 440
- 441
- 442
- 443
- 444
- 445
- 446
- 447
- 448
- 449
- 450
- 451
- 452
- 453
- 454
- 455
- 456
- 457
- 458
- 459
- 460
- 461
- 462
- 463
- 464
- 465
- 466
- 467
- 468
- 469
- 470
- 471
- 472
- 473
- 474
- 475
- 476
- 477
- 478
- 479
- 480
- 481
- 482
- 483
- 484
- 485
- 486
- 487
- 488
- 489
- 490
- 491
- 492
- 493
- 494
- 495
- 496
- 497
- 498
- 499
- 500
- 501
- 502
- 503
- 504
- 505
- 506
- 507
- 508
- 509
- 510
- 511
- 512
- 513
- 514
- 515
- 516
- 517
- 518
- 519
- 520
- 521
- 522
- 523
- 524
- 525
- 526
- 527
- 528
- 529
- 530
- 531
- 532
- 533
- 534
- 535
- 536
- 537
- 538
- 539
- 540
- 541
- 542
- 543
- 544
- 545
- 546
- 547
- 548
- 549
- 550
- 551
- 552
- 553
- 554
- 555
- 556
- 557
- 558
- 559
- 560
- 561
- 562
- 563
- 564
- 565
- 566
- 567
- 568
- 569
- 570
- 571
- 572
- 573
- 574
- 575
- 576
- 577
- 578
- 579
- 580
- 581
- 582
- 583
- 584
- 585
- 586
- 587
- 588
- 589
- 590
- 591
Module Customization Item Tags for OpenCart
-
Installing the “NeoSeo Product Tags” module
In order to install the module “NeoSeo Product Tags” for OpenCart you need:
- Go to the site administration panel and select the “Add-ons”->”Modules”:

- In the list of modules that opens, select “NeoSeo Product Tags” and click on the “Install”:

- Go to the “Add-ons”->”Add-ons Manager” section and click on the “Update” button in the window that opens.

This completes the installation of the module and you can proceed to editing the module settings.
-
Edit module settings
To edit module settings, go to the site's admin panel and select the “Add-ons”->”Modules” section. In the list of modules that opens, select “NeoSeo Product Tags” and click the “Edit”:
After that, a window for editing module settings will appear on the screen: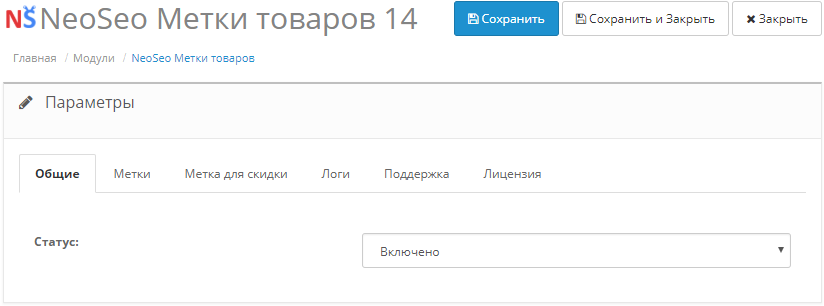
In order to connect this module to the store, you need to go to the “General” tab and in the “Status” field select “Enabled ;: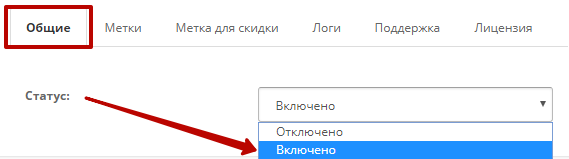
The “Tags” tab is designed to create new tags for products:
To add a new tag, enter a name for the tag and click the “Add” button. For example, let's create a label called “New”:

As a result, a form for setting this label will open: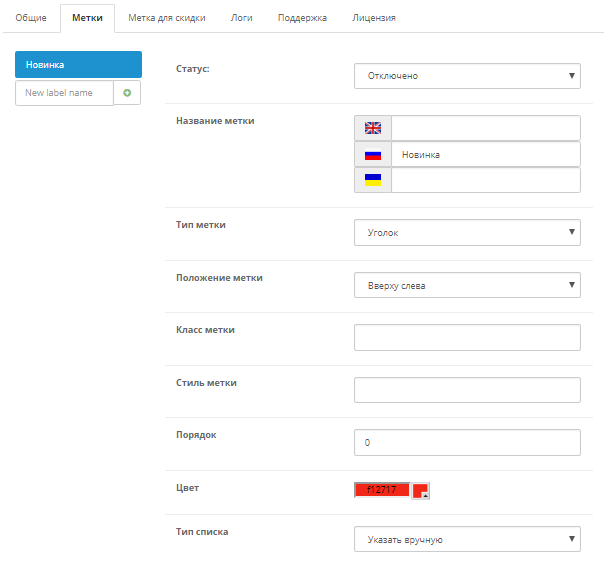
Using this form, you can configure the following settings:
- Status. This field is intended for displaying/hiding product labels. In order to display the current tag on products, in the “Status” field, select the “Enabled”:

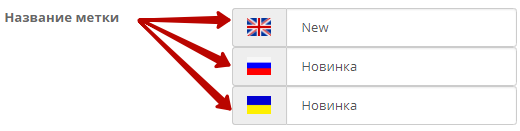
- Label name. This field is used to enter the label name that will be displayed on the product image. The field is multilingual, i.e. allows you to enter label names in all languages that are installed in your online store:
- Label type. The module provides three options for displaying product labels: corner, flag, ribbon.

- Label position. The module provides the following options for the label position relative to the product image: top left, top right, bottom left, bottom right.

- Label class. If you want to add your own css class for product labels, enter the class name in this field.
- Label style. If you want to add a different style for the product label, enter the name of the style in this field.
- Order. This module allows you to set several labels for one product:
Using this field, you can set the display order (invoice number) of the label on the product image:

- Color. This setting is designed to select the color of the product label:

- List type. This field is used to define the group of goods for which the current label must be put. The module offers to divide products into the following groups:
- Specify manually. When this group is selected, the module provides an opportunity to manually specify the products for which you want to put a label. To do this, enter the name of the required product in the field “Products”:

- Popular. When this group is selected, the module will add a label for those products that have the number of views not less than the number entered in the field “Number of views to activate”:

- Out of stock. When this group is selected, the module will add a label for those products that are currently out of stock:

- In stock. When this group is selected, the module will add a label for those products that are currently in stock:

- New items. When you select the group “New Items”, , the module will set a label for those products that have just been added. The label will be displayed on these products for as many days as specified in the “Validity period” field:

- Bestseller. When this group is selected, the module will add a label for those products whose number of purchases is not less than the number entered in the “Number of purchases” field:

For groups “News”, “Popular”, “Bestseller”, “Out of stock”, “In stock” it is possible to specify the limit of goods for label assignment:

- Showcase. This field is used to select the store to which you want to connect the current tag:

Important!!! After adding all the changes, you must click the “Save” button:
Using this module, you can create an unlimited number of labels for products, thereby attracting the attention of customers:

Tab “Label for discount” designed to create a label for promotional products. This tag will be automatically added to all products that are currently promotional.
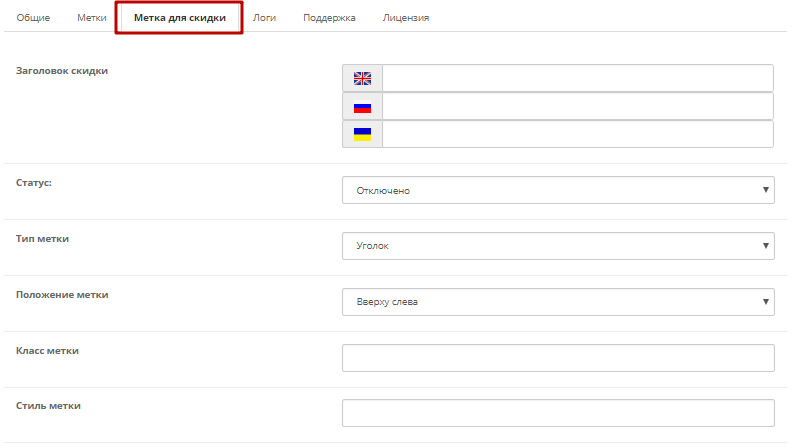
For this label, the module allows you to configure the following settings:
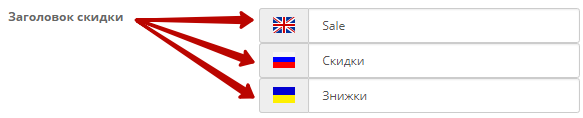
- Discount title. This field is used to enter the name of the tag that will be displayed on images of discounted products. The field is multilingual, i.e. allows you to enter the title in all languages that are installed in your online store:
- Status. This field is designed to show/hide the label. select value “Enabled”:

- Label type. The module provides three options for displaying discounted product labels: corner, flag, ribbon.

- The position of the label. The module provides the following options for label position relative to the product image: top left, top right, bottom left, bottom right.

- Label class. If you want to add your own css class for the sale label, enter the class name in this field.
- Label style. If you want to add a different style for the label of discounted products, enter the name of the style in this field.
- Order. Using this field, you can set the display order (invoice number) of the label on the product image:

- Color. This setting is designed to select the color of the discounted product label:

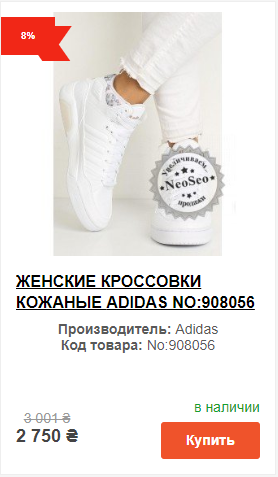
Important!!! After adding all the changes, you must click the “Save” button:
As a result, we get the following type of label:
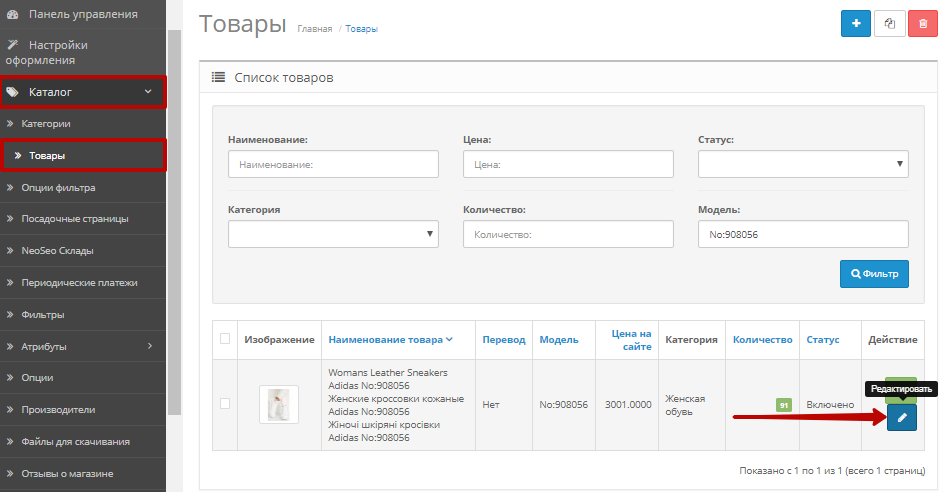
This solution allows you to set tags for products not only in the module settings for OpenCart “NeoSeo Product Tags”, but also in the “Catalog”->”Products” -”Product Editing”:
In the tab “Links” new setting available “Product Tags”:


Comments